Thinking about listing your Kentfield home this spring? You know buyers are drawn to light, privacy, and easy indoor–outdoor living, but translating that into a staging plan can feel overwhelming. You want a strategy that respects your home’s character and delivers a polished, turnkey look that photographs beautifully. In this guide, you’ll learn a simple framework tailored to Kentfield’s tree‑lined lots and spring market, plus a practical timeline and vendor checklist to make it seamless. Let’s dive in.
What Kentfield buyers value
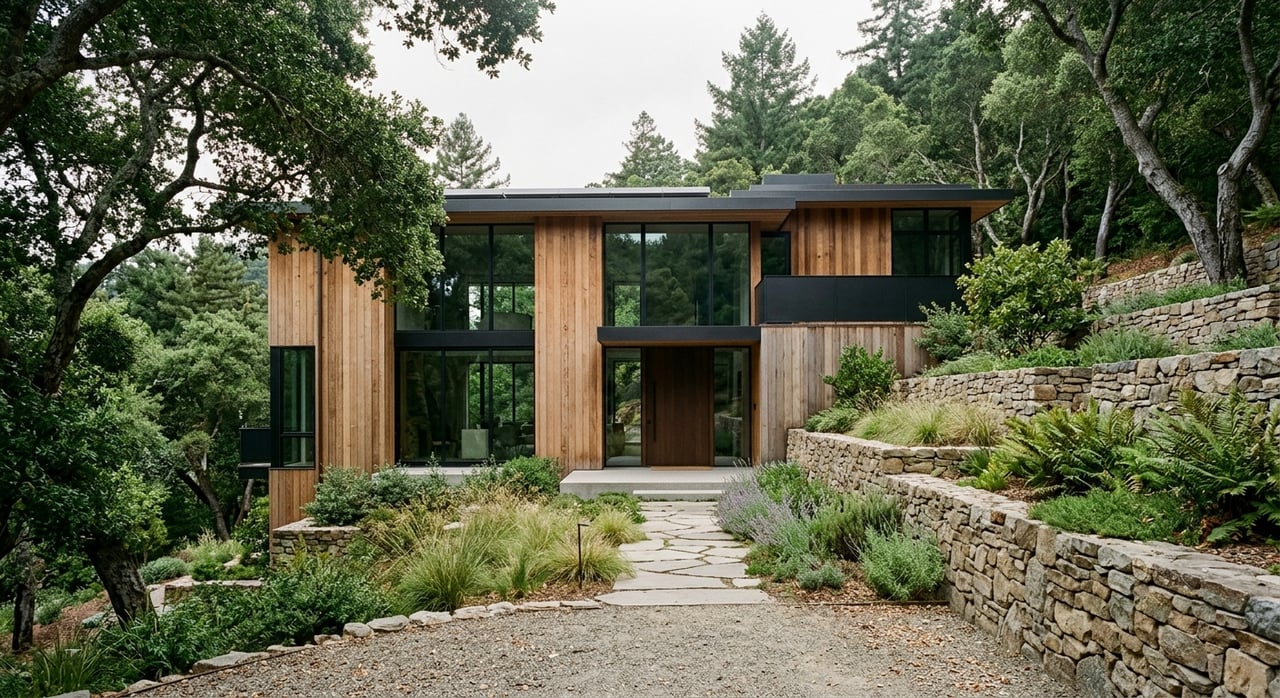
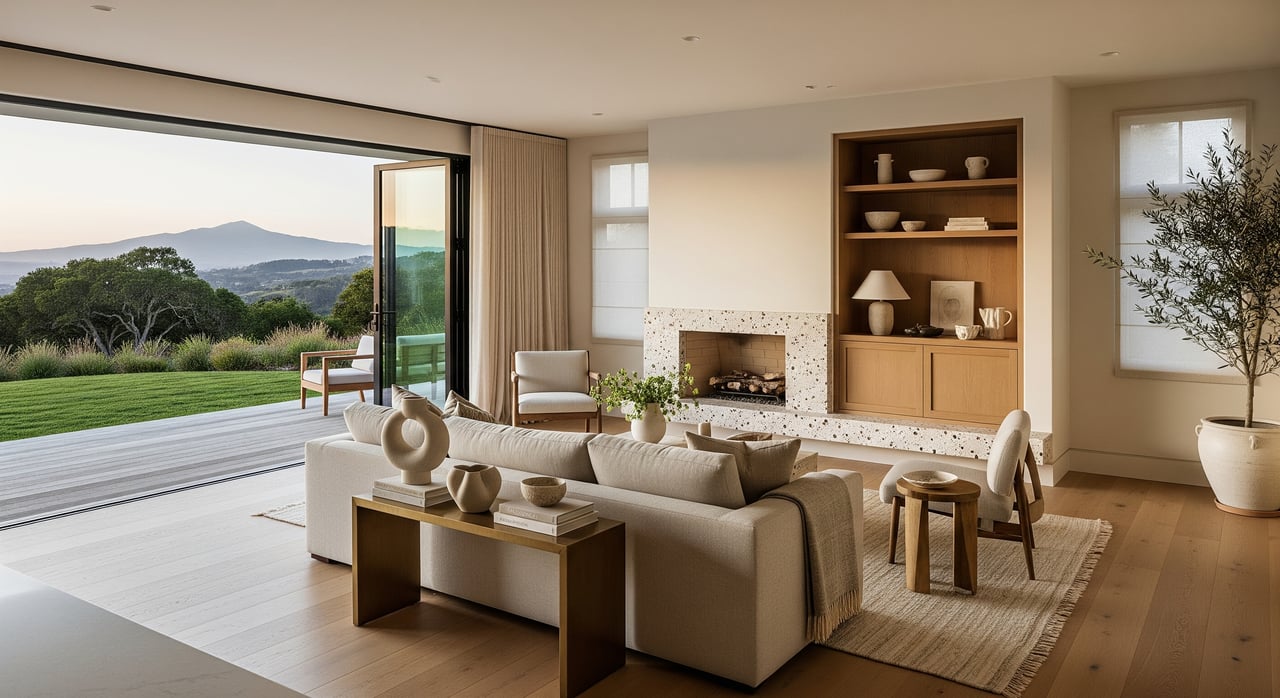
Kentfield attracts higher‑end buyers who want close‑in Marin living with strong indoor–outdoor appeal. They look for natural light, privacy, mature landscaping, and views that nod to the hills and Mount Tamalpais. Many homes feature exposed wood, fireplaces, large windows, and built‑ins. Those details are assets when styled with a neutral palette.
Spring is an ideal listing window in Marin’s Mediterranean climate. Gardens pop, outdoor spaces feel inviting, and longer days help your photos shine. Just plan around early season rain and soft soil, and coordinate any landscape work with the right permits. Many lots have protected trees, so confirm local rules before trimming or removing significant limbs.
Core staging priorities
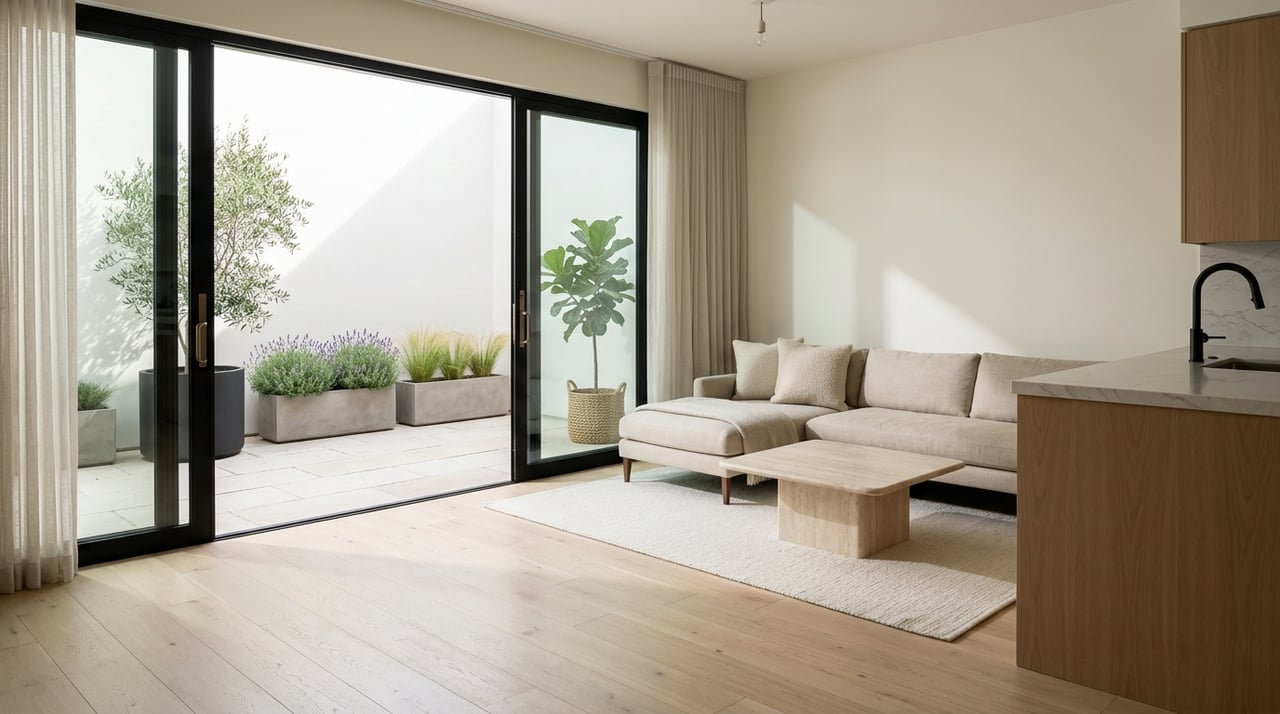
Maximize and manage light
Tree canopy is part of Kentfield’s charm, but it can mute interiors. Brighten rooms without losing privacy.
- Assess exposures. Note when each room gets its best natural light, then plan showings and photography accordingly.
- Use selective arbor care. Prioritize deadwood removal and light thinning with a certified arborist. Verify local permitting before major work.
- Update window treatments. Swap heavy drapes for light‑filtering linen panels or motorized sheers. Keep them open for showings.
- Add reflective layers. Mirrors and soft white or warm gray finishes help bounce light into deeper rooms.
- Layer lighting. Warm LED bulbs on dimmers, plus floor and table lamps, prevent a flat or cave‑like feel.
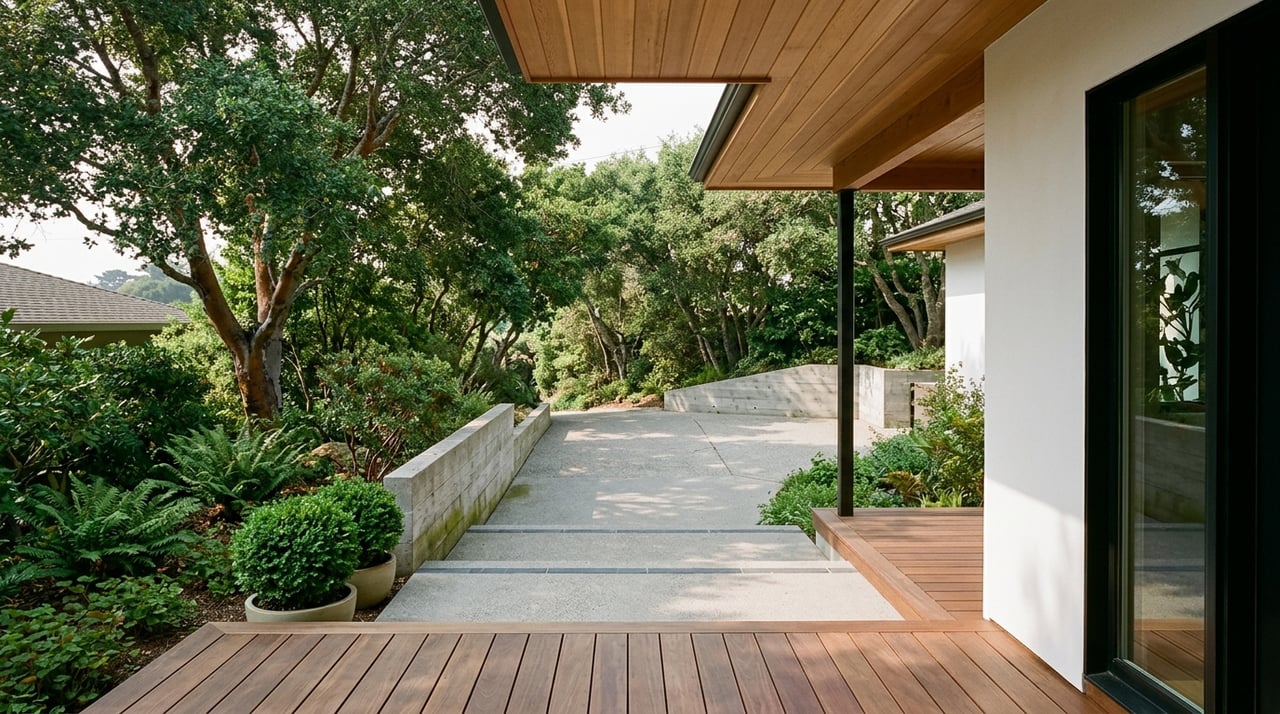
Showcase indoor–outdoor flow
Help buyers see how daily life moves from living areas to patios, decks, and gardens.
- Lead the eye. Float furniture so sightlines guide you to doors, windows, and views. Keep thresholds clear.
- Create outdoor rooms. Furnish decks and patios with scaled seating, outdoor rugs, and a simple focal point like a fire pit or dining vignette.
- Coordinate accents. Echo interior textures and colors outside with pillows and planters for a cohesive but not matchy look.
- Frame views and privacy. Trim lower branches where permitted to open sightlines while preserving screening at the property edge.
Neutral palette, preserved character
Broaden appeal while honoring the architecture buyers love.
- Repaint large surfaces. Choose warm off‑whites or greige that photograph well in coastal light.
- Highlight original details. Keep built‑ins, trim, and fireplaces uncluttered. Style minimally to draw attention to quality.
- Refresh floors. Refinish only where needed and use area rugs to define spaces and soften wear.
- Add texture, not bold color. Layer linen, wool, and natural fibers to keep the look sophisticated and calm.
Room‑by‑room checklist
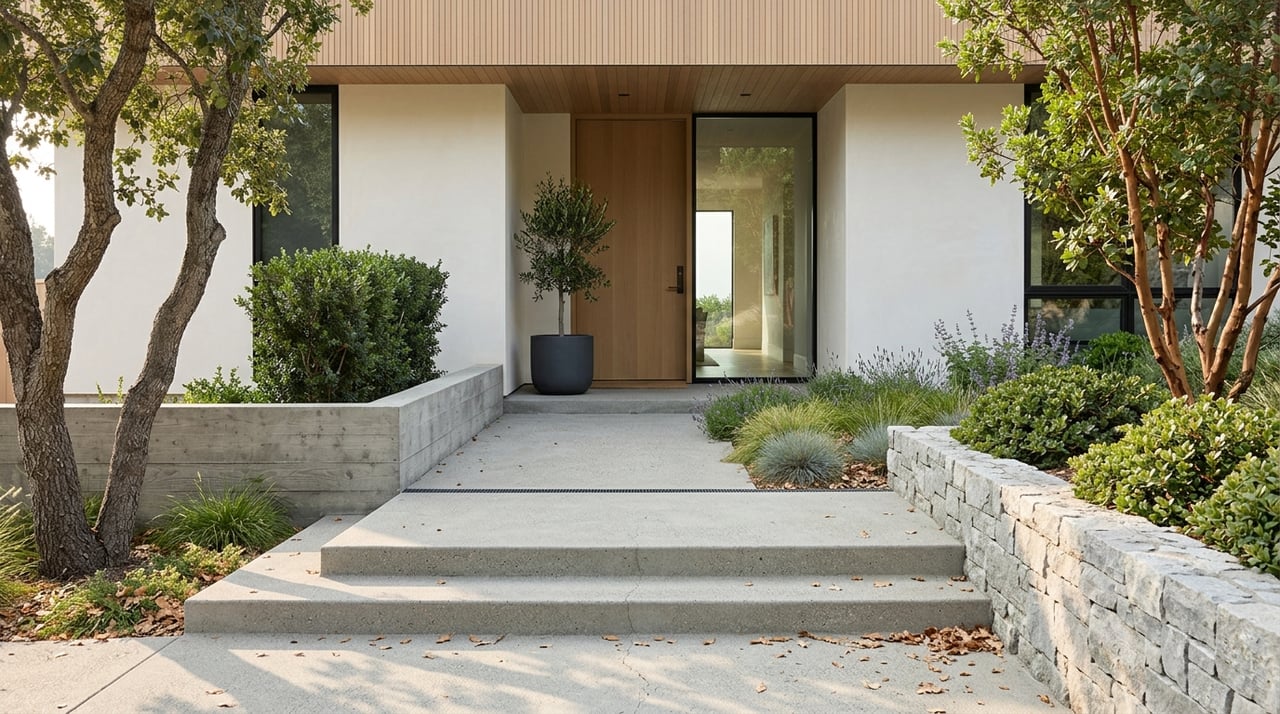
Entry and foyer
- Keep a clear line of sight to main living spaces and outdoor access.
- Use a single console or bench with fresh greenery or florals.
- Update overhead and accent lighting for instant impact.
Great room and living areas
- Arrange seating for conversation and for the view to the outdoors.
- Style the fireplace as a focal point with minimal mantel decor.
- Remove oversized or highly personal collections to avoid distraction.
Dining room
- Use a table setting scaled to the room, not a full place setting.
- Add quality linens and a simple centerpiece for polish.
- Keep the path from kitchen to dining clear and open.
Kitchen
- Clear counters. Display one bowl of fruit or a small herb pot for color.
- Tuck away colorful small appliances to maintain a neutral look.
- If space allows, stage a compact breakfast or coffee nook.
Primary suite
- Choose neutral linens layered with texture and a single piece of art.
- Add bedside lamps on dimmers for warm, even lighting.
- Tidy closet storage to signal ample space.
Secondary bedrooms and flex spaces
- Stage for likely uses such as a guest room, office, or gym.
- Keep desks and surfaces clear to suggest productivity and calm.
- Use neutral decor so buyers can project their own needs.
Bathrooms
- Clear counters and add plush white towels.
- Polish or update fixtures and ensure soft, even lighting.
- Add small plants or rolled towels for a spa feel.
Elevate outdoor spaces
- Boost curb appeal. Power‑wash paths, clean gutters, refresh mulch, and trim low branches that block walkways.
- Style patios and decks. Add right‑sized seating, outdoor rugs, planters, and simple lanterns or string lights.
- Freshen garden beds. Tidy, weed, and plan for seasonal blooms that peak during photography.
- Support privacy. Where screening is a feature, position seating to highlight it. Consider a water feature or dense plantings to soften street noise where appropriate.
Photography that sells the lifestyle
- Time it right. Schedule photos when each room gets its best light. Morning suits many east‑facing spaces, while late afternoon flatters west exposures.
- Book twilight. Dusk exteriors capture warm interior light and view moments.
- Consider drone shots. Aerials can showcase lot size, tree canopy, and approach. Confirm any local restrictions before scheduling.
- Choose physical staging for luxury listings. High‑end furnishings and textures create stronger emotional impact than virtual staging. Use virtual only to suggest alternate uses for non‑essential rooms.
Vendor plan and spring timeline
Who to involve
- Listing agent as your single point of contact
- Professional stager with luxury inventory
- Photographer, drone operator, and virtual tour provider
- Landscaper and arborist familiar with local permits
- Painter, handyman, and flooring contractor
- Deep cleaning and window cleaning service
- Lighting contractor or electrician for fixture updates
- Movers or a storage provider to streamline decluttering
6–8 weeks to launch
- Meet for a staging consult and define scope and budget.
- Order permits for any tree work or exterior changes.
- Book key vendors early, especially stager, painter, landscaper, and arborist.
3–5 weeks to launch
- Complete exterior improvements and needed repairs.
- Start interior painting and any floor refinishing.
- Refresh landscaping and plan seasonal color.
1–2 weeks to launch
- Deep clean, including windows.
- Install staging and complete touchups.
- Schedule professional photography on a day with good light.
Listing week
- Do a final walkthrough with a maintenance checklist for showings.
- Keep a small kit on hand for daily touchups.
Coordination best practices
- Use a written scope, timeline, and payment terms with each vendor.
- Confirm permits and gather proof of insurance before work begins.
- Build a 3–7 day buffer for weather or supplier delays.
- Arrange offsite storage to keep the home uncluttered and photo‑ready.
- Prioritize stagers and photographers who understand Marin luxury listings.
Budget, ROI, and where to invest
Industry guidance from staging associations indicates that well‑staged homes attract stronger buyer engagement and can sell more quickly. In luxury listings, staging clarifies scale, function, and lifestyle, which drives perceived value.
Where staging pays off most:
- Primary living spaces. Great rooms and open kitchen‑living‑dining areas set the tone.
- Key lifestyle zones. Outdoor rooms, the primary suite, kitchen, and family areas.
- Unique features. Architecturally significant rooms or view‑oriented spaces.
Cost drivers to plan for:
- Home size, number of rooms staged, and rental duration
- Level of furniture and accessory quality, plus any custom orders
- Cosmetic updates such as paint, lighting, and light landscaping
If budget is limited, prioritize:
- Paint, lighting upgrades, and decluttering that read well in photos
- Entry, great room, kitchen, primary suite, and outdoor living
- Professional photography, including a twilight exterior when appropriate
Seasonal tips for a smooth spring listing
- Work with the weather. Keep your timeline flexible to capture the best light.
- Protect the landscape. Plan tree and garden work around wet soil to avoid damage.
- Show comfort on rainy days. Lean into cozy elements like the fireplace and warm layered lighting when outdoor tours are limited.
Ready to list with confidence?
You can present a bright, private, and effortlessly livable Kentfield home with a few focused moves and the right team. If you want a turnkey experience, I coordinate staging, vendor schedules, and photography, and can leverage Compass Concierge for approved pre‑market improvements. For a private plan and valuation, reach out to Raquel Newman.
FAQs
What makes Kentfield luxury staging unique?
- Tree‑lined lots and privacy are prized, so staging focuses on managing light under canopy, showcasing indoor–outdoor flow, and preserving architectural character.
How do I add light without removing trees?
- Use selective thinning and deadwood removal with a certified arborist, switch to light‑filtering window treatments, add mirrors, and layer warm LED lighting.
Do I need permits for trimming or tree work in Marin?
- Many properties have protected trees, so verify local permitting before significant trimming or removal and document any approved work in your disclosures.
Is physical staging worth it for luxury homes?
- Yes. For higher‑end properties, physical staging typically creates stronger emotional response than virtual staging and helps buyers grasp scale and lifestyle.
When should I schedule photos for best light?
- Book photos when each room is brightest, often morning for east‑facing spaces and late afternoon for west exposures, plus a twilight session for exteriors.
How far in advance should I start staging?
- Start 6–8 weeks before your target list date to secure vendors, handle permits, complete paint and landscaping, and allow a buffer for spring weather.